
Last updated November 4, 2026
 Wrought iron
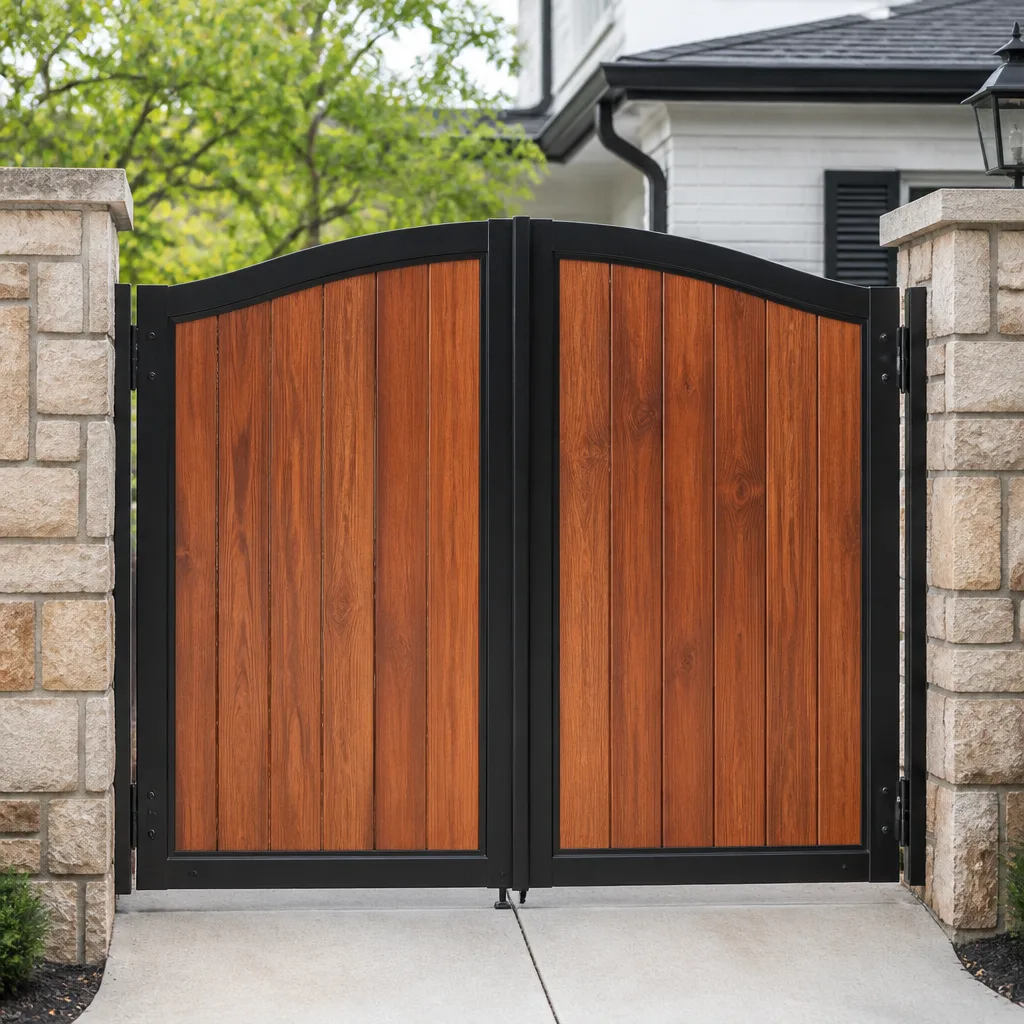 Wood & steel frame
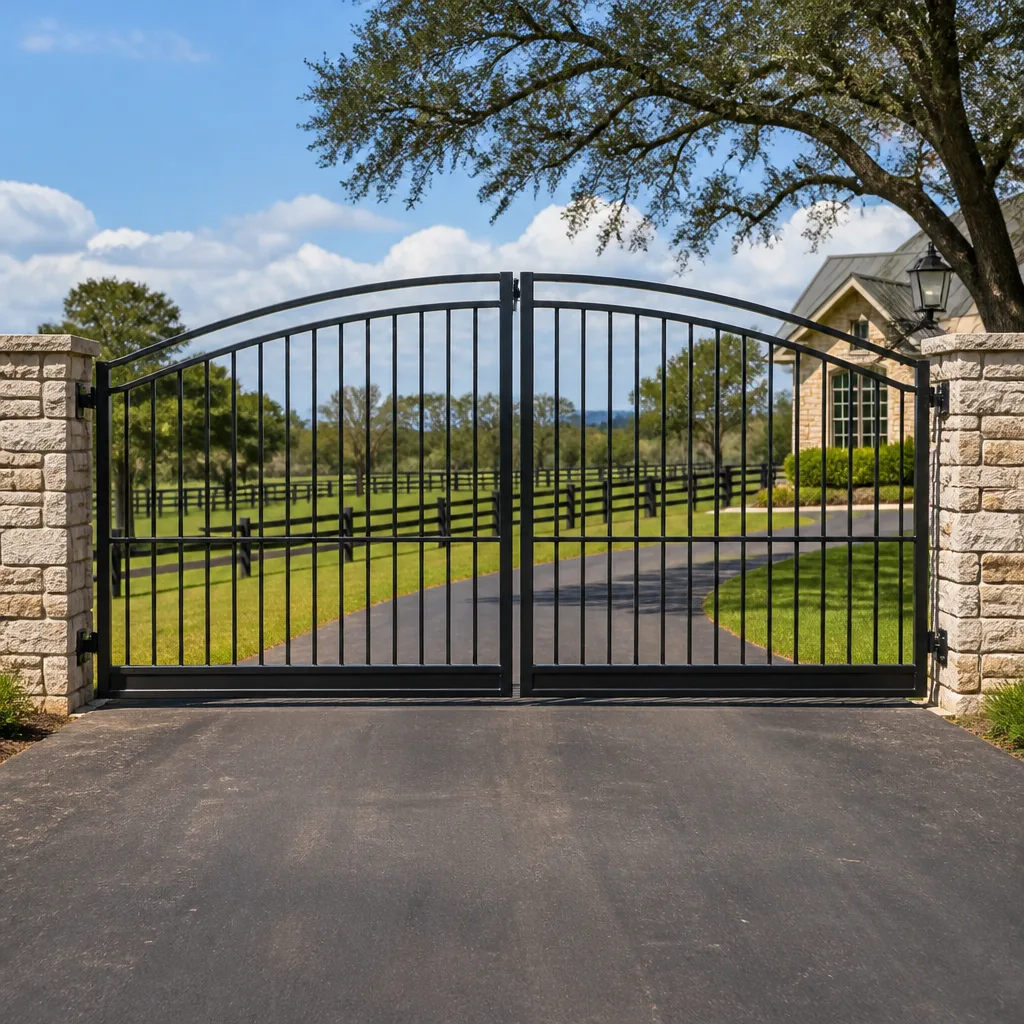 Farm & ranch
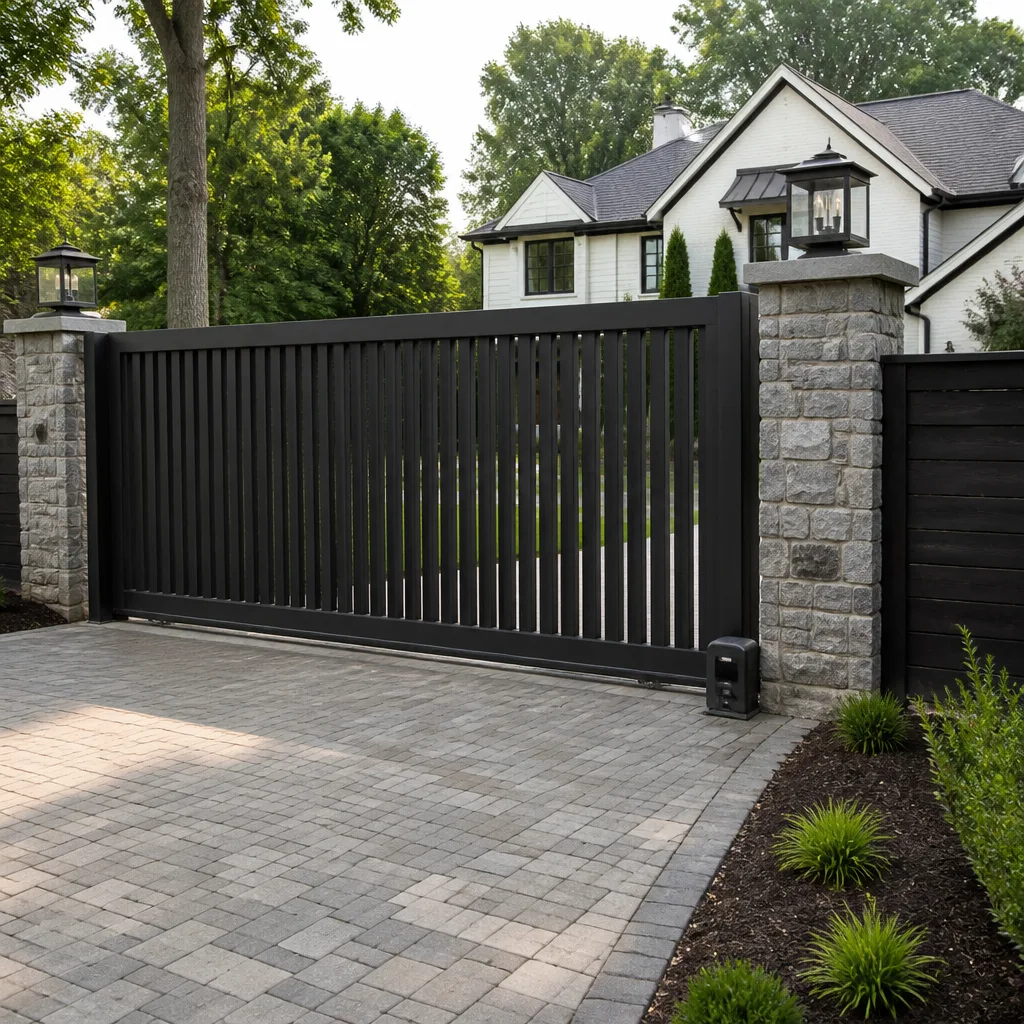 Sliding driveway gates
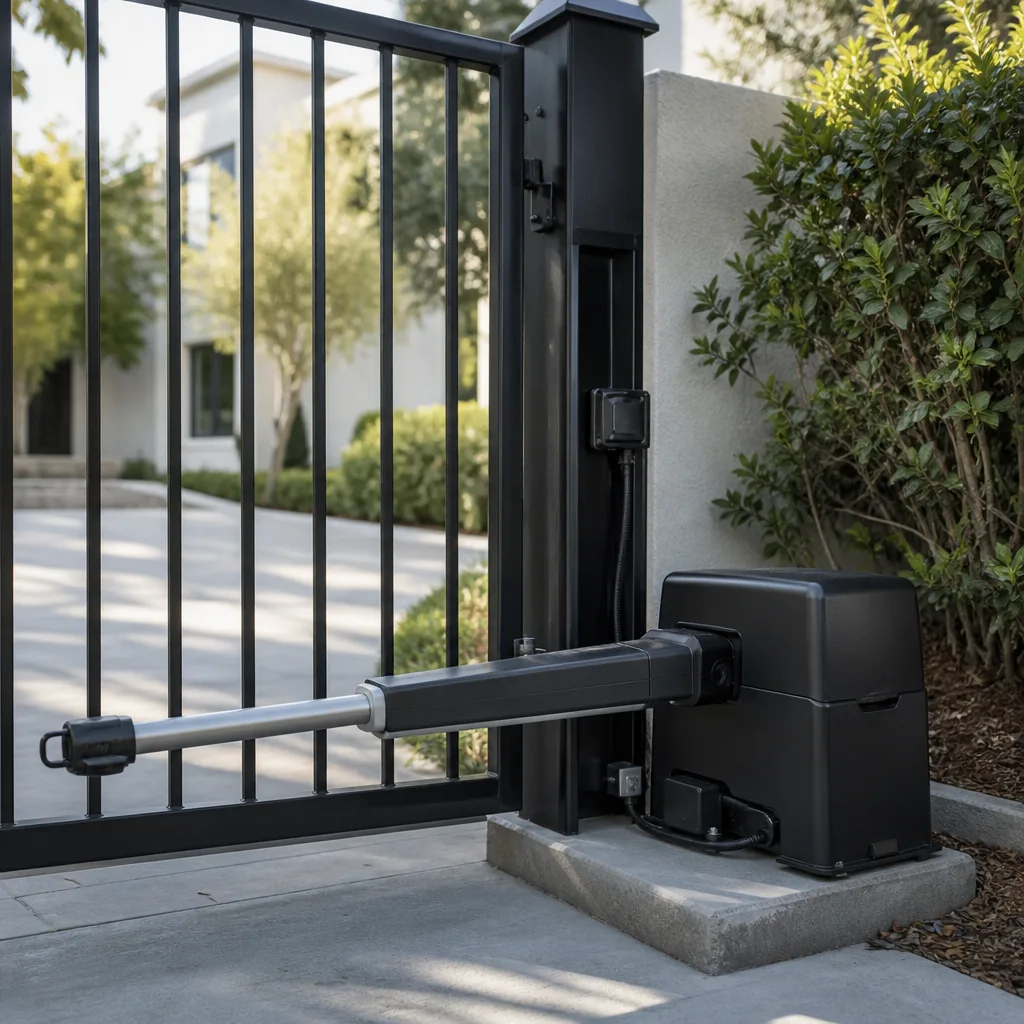 LiftMaster operators
Free on-site gate assessment - hinges, posts, and your LiftMaster or Nice gate operator checked before anything is quoted
The assessment is free and the quote is the invoice.
Get your free estimateThe Complete Guide to Gate Repair in Compton
A gate that opens slowly isn’t a motor problem 60% of the time. It’s a hinge or track alignment issue forcing the motor to work harder than it was rated for, and Compton’s clay-heavy soil is usually the culprit behind that misalignment. This guide maps every major gate system to its most common failure pattern so you can diagnose what’s actually wrong before you pick up the phone. We’ll cover the three root causes we see most often in Compton, how different brands fail in different ways, and what a targeted repair actually involves.
Quick Answer
Gate repair in Compton typically involves diagnosing whether the problem is mechanical (hinges, rollers, track alignment), electrical (operator, wiring, circuit board), or structural (post lean from soil shift). Most repairs fall between $150 and $500 for component-level fixes, while full operator replacement can run higher depending on the brand and configuration. Gate repair specialists in Compton diagnose by brand-specific logic rather than guesswork, which means you pay for the fix, not the discovery process.
Styles & brands we work with
- Wrought iron
- Wood & steel frame
- Farm & ranch
- Sliding driveway gates
- LiftMaster operators
Table of Contents
- The Three Root Causes Behind Most Compton Gate Failures
- Brand-Specific Failure Patterns: LiftMaster, FAAC, BFT, and Linear
- What Gate Repair Actually Covers: Layers of a Gate System
- The Repair Decision Tree: Adjust, Replace, or Rebuild
- How Compton’s Soil Affects Your Gate More Than You Think
- How to Document a Gate Problem Before Calling a Technician
- Electric Gate Repair: What the Wiring Actually Does
- Manual vs. Automated Gates: Repair Scope Differences
Common Mistakes to Avoid
- Lubricating before diagnosing. Adding grease to a misaligned track masks the symptom for a week and then the wear accelerates. Check alignment first, then lubricate only the parts that need it.
- Replacing the operator when the hinges are shot. If the gate doesn’t swing freely by hand, a new motor won’t fix it. The old one probably burned out because it was fighting resistance.
- Mixing aftermarket parts with proprietary control boards. A generic capacitor or limit switch can work with one brand and fry another. Brand-matched parts matter, especially on FAAC and BFT control boards.
- Ignoring slow response from the remote until it stops working entirely. Intermittent signal issues are often wiring or receiver degradation, and they get more expensive the longer they go unaddressed in Compton’s fine dust conditions.
- Tightening bolts without checking post plumb. Pulling a leaning post back into alignment with the hinge bolts just strips the hardware. The post needs to be reset in the footing.
- Assuming the gate itself needs replacing when the operator fails. Operators are modular. If the steel or aluminum structure is sound, replacing the operator is often a fraction of a full gate job.
- Hiring a general handyman for an access control problem. Gate automation, intercom wiring, and safety edges are distinct systems. A gates-only specialist works with these layers daily, not occasionally.
The Three Root Causes Behind Most Compton Gate Failures
In our experience, most gate problems in Compton trace back to one of three things: foundation shift, incompatible automation hardware, or deferred lubrication. Knowing which category your issue falls into determines whether a repair takes an hour or stretches into a week. Foundation shift is the silent one. Compton sits on clay-heavy soil that expands when wet and contracts when dry. Over years, this movement pushes gate posts out of plumb, which transfers stress to the hinges, then to the gate frame, and eventually to the operator. A gate that was installed perfectly level can develop a half-inch of post lean that makes the motor strain every single cycle.
Incompatible automation hardware is the second pattern we see. A property owner buys an operator from one brand and pairs it with hinges, rollers, or safety edges from another, or the original installer mixed component generations. The gate still opens, but the operator’s logic board is constantly compensating for signals it doesn’t fully understand. These systems fail in weird ways: intermittent stops, reversed travel, or limit switches that drift out of calibration. The repair isn’t usually the whole operator, it’s replacing the mismatched component with one that speaks the same language as the control board.
Deferred lubrication is the third root cause, and it’s the most preventable. Compton’s dry, dusty environment sucks lubrication out of hinge pins, roller bearings, and slide tracks. A gate that hasn’t been lubricated in two years is slowly grinding its own hardware down. The motor keeps working because motors are strong, but the resistance builds until something gives, usually the hinge pin or the drive chain on a slide gate.
Each of these root causes produces different symptoms, and misdiagnosing them is where repair bills get inflated. A gate that reverses mid-travel could be a limit switch issue, a safety edge fault, or a track obstruction. A gate that groans when opening could be a bearing, a hinge, or a misaligned roller guide. Starting with the root cause, not the symptom, is what separates a targeted fix from a parts-cannon approach.
Brand-Specific Failure Patterns: LiftMaster, FAAC, BFT, and Linear
Every gate operator brand has its own engineering philosophy, which means each one tends to fail in predictable ways. Understanding this helps you describe the problem accurately when you call for service in Compton.
LiftMaster
LiftMaster dominates residential gate automation in the US, and the brand’s strength is its logic board. When a LiftMaster operator fails, it’s usually not the board. The weak points are the gear drive and the limit switch assembly. LiftMaster units tend to eat drive gears over time, especially on slide gates where debris builds up in the track. The 24V DC models also have a known pattern where the limit switches vibrate out of position, causing the gate to stop short or over-travel. These are component-level repairs that usually don’t require replacing the entire operator.
FAAC
FAAC is an Italian brand built for elegance and quiet operation, commonly found on high-end residential properties. The failure pattern with FAAC is hydraulic fluid leakage in older swing gate operators and sensitivity to power fluctuations. FAAC control boards are protected better than most, but they don’t tolerate voltage spikes well. In Compton, where grid load shifts during heat waves, FAAC units benefit from surge protection on the power feed. When a FAAC gate fails slowly rather than suddenly, it’s usually fluid or pressure related. When it fails suddenly, check the board and the wife of the capacitor.
BFT
BFT is another Italian manufacturer, and their operators are known for compact hydraulic designs. The BFT failure pattern we see most is in the photocell and safety edge integration. BFT systems rely on redundant safety inputs, and when one safety device degrades, the gate goes into a fail-safe mode that can look like a total operator failure. The fix is often a $40 photocell, not a $900 operator. BFT also uses proprietary connectors on some models, which means aftermarket wiring harnesses cause intermittent faults that are hard to trace.
Linear
Linear is a US brand common on multi-family and light-commercial gates in Compton. Their operators are built for volume cycling, and their failure pattern reflects that: relay contacts wear out, and the heavier the gate, the faster it happens. Linear units also have a pattern where the receiver loses programming after a power interruption, which sends property managers hunting for remote controls that were never the problem. A Linear repair is often straightforward once you know whether the issue is mechanical wear or memory loss.
We work on the brand you already have. Brand-agnostic diagnostics mean we’re not trying to sell a conversion unless the existing hardware is genuinely at the end of its service life.
What Gate Repair Actually Covers: Layers of a Gate System
A gate is not one machine. It’s a stack of layers, and each layer has its own failure profile. Understanding the layers helps you describe what’s wrong and understand why a specialist structures the work differently than a general handyman would.
Layer 1: The Physical Gate
This is the steel, aluminum, or wrought iron structure itself: the frame, the pickets, the hinges, the wheels or rollers, and the track if it’s a slide gate. Repair at this layer includes welding cracked frame joints, replacing worn hinges, resetting posts, straightening bent panels, and replacing broken rollers. The physical gate is where Compton’s soil movement shows up first, and where deferred lubrication does its slow damage.
Layer 2: The Operator
The operator is the motor and gear assembly that moves the gate. It includes the drive mechanism (chain, gear, screw, or hydraulic piston), the motor itself, and the mechanical connection to the gate. Operator repair is component-level: replacing a drive gear, rebuilding a hydraulic ram, swapping a capacitor, or replacing the entire operator when the shell or internal structure is compromised.
Layer 3: The Control Board
The control board is the brain. It receives inputs from remote controls, keypads, intercoms, safety edges, and photocells, and it sends power to the motor. Control board problems often masquerade as motor problems. A board that won’t respond to a remote isn’t the remote’s fault if the receiver is integrated into the board and the board’s receiver circuit is damaged. Repair at this layer is usually replacement, because board-level soldering repair is rarely cost-effective outside of warranty.
Layer 4: Access Control
Access control includes everything that tells the gate to open: remote controls, keypads, intercom systems, telephone entry units, loop detectors in the driveway, and exit wands. These components fail independently of the rest of the system, and they’re the most common source of “the gate won’t open” calls that turn out not to be motor problems at all.
Layer 5: Safety Systems
Safety edges, photocells, and loop detectors exist to prevent the gate from crushing someone or something. When a safety device fails, the system typically fails safe: the gate either won’t close, won’t open, or reverses mid-travel. These are designed failure modes, not defects. Repair at this layer means identifying which safety input is causing the fault and replacing it, not bypassing it.
Specialists handle each layer with different diagnostic tools and different parts suppliers. A gates-only company keeps the common failure parts for each layer on the truck, which means fewer return trips and faster repairs in Compton.
The Repair Decision Tree: Adjust, Replace, or Rebuild
When a gate fails, there are three possible outcomes: an adjustment, a component replacement, or a structural rebuild. Here’s how a specialist walks that tree.
Step 1: Determine the symptom category
- Mechanical symptom: grinding, groaning, sagging, sticking, or uneven movement. This points to physical gate components.
- Electrical symptom: no response, intermittent response, reversed travel, or limit switch drift. This points to the operator, board, or wiring.
- Access symptom: remote works but keypad doesn’t, or vice versa. This points to the access control layer.
- Safety symptom: gate reverses consistently at the same point, or won’t close at all. This points to safety devices.
Step 2: Test the gate by hand
Disengage the operator and move the gate manually. If it moves freely and evenly, the mechanical layer is fine and the problem is electrical or access-related. If it binds, scrapes, or takes real effort, the mechanical layer is the root cause and any electrical work is secondary.
Step 3: Isolate the component
A gate that moves fine by hand but won’t respond to a remote could be the receiver, the board, the remote itself, or the power feed. This is where brand fluency pays off: a LiftMaster receiver failure looks different from a BFT safety edge fault from a Linear relay wear pattern. A specialist tests components in sequence, not by swapping parts and hoping.
Step 4: Make the call
Adjustments are things like tightening loose hardware, realigning the track on a slide gate, re-calibrating limit switches, or replacing a worn hinge pin without touching the post. Component replacement covers operators, control boards, safety edges, photocells, and receiver modules. Structural rebuild means the gate frame or posts have degraded beyond adjustment: post resetting, frame welding, or full replacement of a deteriorating gate leaf. Most repairs are component-level. The gate itself outlasts several operator generations if the hardware was installed correctly.
When a gate problem first appears, ask the question in this order: is it mechanical, electrical, access-related, or safety related? That single piece of triage saves the technician time and saves you money.
How Compton’s Soil Affects Your Gate More Than You Think
Compton sits on a mix of clay and loam that expands when wet and shrinks when dry. This soil movement is the single biggest structural challenge for gate installations in the city. When a post is set in clay-heavy soil and the ground dries out, the soil contracts and creates a void around the footing. The post shifts. When the ground rehydrates, the soil swells and pushes the post from the other side. Over years, the cumulative movement works the post out of plumb.
A leaning post isn’t just a cosmetic issue. The post carries the full weight of the gate leaf through the hinges. When the post leans, the gate leaf sags. When the gate sags, the latch no longer lines up with the strike plate. The operator, which was rated for the gate’s original weight and geometry, now has to lift the gate slightly on every cycle. The motor’s amp draw increases. Components that were designed for a five-year service life start failing in three.
What does this mean for Compton homeowners? Two things. First, gates on older properties, especially those built before current concrete footing standards were common, are more likely to have post lean. Second, when a post does shift, the fix is never just tightening hardware. The post has to be dug out, re-set with a deeper footing, and re-secured. It’s a structural repair, not a hardware adjustment.
We recommend checking post plumb twice a year: once when the ground is dry and once after a soaking rain. A carpenter’s level against the post will tell you more than the gate will, because the gate masks the problem until it’s advanced.
How to Document a Gate Problem Before Calling a Technician
Most gate repair calls start with a vague description: “it’s not working right.” The more specific you can be, the faster the diagnosis, the fewer billable hours, and the more likely the technician arrives with the right parts on the first trip. Here’s the documentation checklist we recommend for any Compton property owner.
- Write down exactly what the gate does and doesn’t do. Does it open but not close? Close but not open? Open halfway and stop? Reverse after closing? Be specific: “opens fully, closes 80%, then reverses” is far better than “it’s acting weird.”
- Note when the problem started and whether it’s getting worse. Did it fail suddenly or gradually? A sudden failure points to an electrical or component failure. A gradual decline points to mechanical wear.
- Test the gate by hand. Disengage the operator using the manual release handle. Can you move the gate? Does it bind or scrape? This single test separates mechanical from electrical problems.
- Check the remote and keypad separately. If the remote works but the keypad doesn’t, note that. If both fail, note that too. The distinction matters.
- Look for obvious physical damage. Take photos of bent hardware, cracked welds, exposed wiring, and anything that looks out of place. A photo of a sheared bolt tells us more than three phone calls.
- Note any recent work or events. Was the gate hit by a car? Did a tree limb fall on it? Did the power go out recently? Did you have new landscaping installed near the gate posts? All of these are diagnostic clues.
- Write down the brand name from the operator. The brand and model number are usually printed on a plate on the operator housing or the control box. This lets us check parts availability before we arrive.
Documenting a gate problem this way turns a diagnostic visit into a repair visit. Instead of spending an hour on site figuring out what’s wrong, the technician spends twenty minutes confirming what you’ve documented and then starts the fix. In Compton, where traffic can eat up your whole afternoon, that efficiency matters.
When you’re ready to call, electric gate repair diagnostics work exactly the same way: the more you document, the faster we move. Call (866) 569-6161 with your notes and we’ll walk through the symptoms with you before scheduling the visit.
Electric Gate Repair: What the Wiring Actually Does
An electric gate is a simple machine with a complicated nervous system. The wiring doesn’t just carry power, it carries signals between the access control devices, the safety sensors, and the control board. Most electric gate failures in Compton come down to one of three wiring issues: a short, an open circuit, or a corrosion point inside a junction box.
A short happens when two conductors touch that shouldn’t. In a gate system, this often happens inside a conduit pull box where installation-grade wire nuts have loosened over time, or where a wire has chafed against a metal edge. A short typically causes the breaker to trip or the control board to behave erratically.
An open circuit is a broken wire: the power or signal path is interrupted. On an electric gate, this commonly happens at stress points where the wire flexes as the gate moves. Swing gates flex the wire at the hinge point on every cycle. Eventually, copper work-hardens and snaps inside the insulation. The gate works intermittently, then stops. The fault is invisible because the insulation looks intact.
Corrosion points are the third issue, and Compton’s environment matters here. The city’s fine dust and seasonal moisture create a corrosive micro-environment inside exterior junction boxes. Connections that were tight when installed develop resistance over time. Resistance creates voltage drop, which causes exactly the kind of intermittent symptoms that drive owners crazy.
When an electric gate fails, the diagnostic sequence is: test power at the source, test continuity through the circuit path, test component function separately. The operator is the last thing to condemn, not the first, because operators are rarely the actual point of failure. Spending the diagnostic time up front means not buying an operator when all you needed was a wire splice.
Working on gate wiring and operators means working with line voltage, and line voltage can be fatal. We don’t encourage do-it-yourself electrical gate repair. If you’re not trained on electrical systems, the right move is to disconnect power at the breaker and call someone who is.
Manual vs. Automated Gates: Repair Scope Differences
Manual gates and automated gates share the same physical structure, but their repair scopes diverge quickly. A manual gate is purely mechanical: hinges, latch hardware, drop rods, wheels, and track. Repair work is welding, hardware replacement, post resetting, and lubrication. There is no electrical layer, which means fewer failure modes and simpler diagnostics.
An automated gate adds three layers on top of the physical gate: the operator, the access control, and the safety systems. Each layer has its own components, its own failure patterns, and its own parts suppliers. When an automated gate fails, the question is always which layer, not just what part. The physical gate can be perfectly fine while the operator is dead, or the operator can be fine while the safety edge is triggering false reversals.
For a manual gate owner considering automation, the repair consideration shifts. Before an operator can be installed, the physical gate has to be in workable condition. A manual gate that sags, scrapes, or doesn’t swing smoothly will destroy an operator in short order. The pre-automation repair is often as significant as the automation itself: reinforcement of the hinge posts, alignment of the gate leaf, and replacement of worn hardware.
Automated or manual, we handle it. The repair-first mindset means we’re not pushing conversion from manual to automated unless the property actually benefits from it. And when conversion happens, the physical layer gets the same attention as the electronics.
Gate Repair Compton works on both systems from a single trade focus: gates are all we do, so the physical and electrical work happen under one roof rather than being handed between contractors.
See the difference
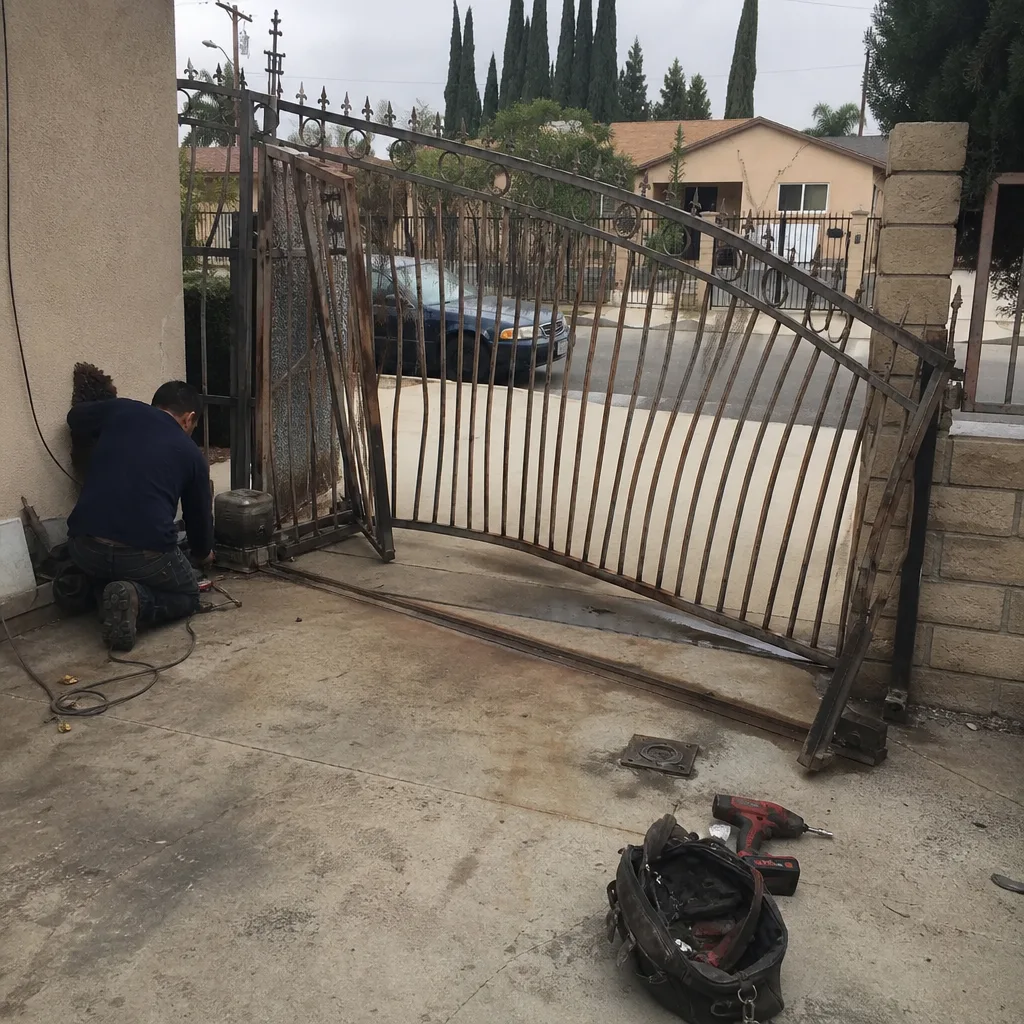 Before
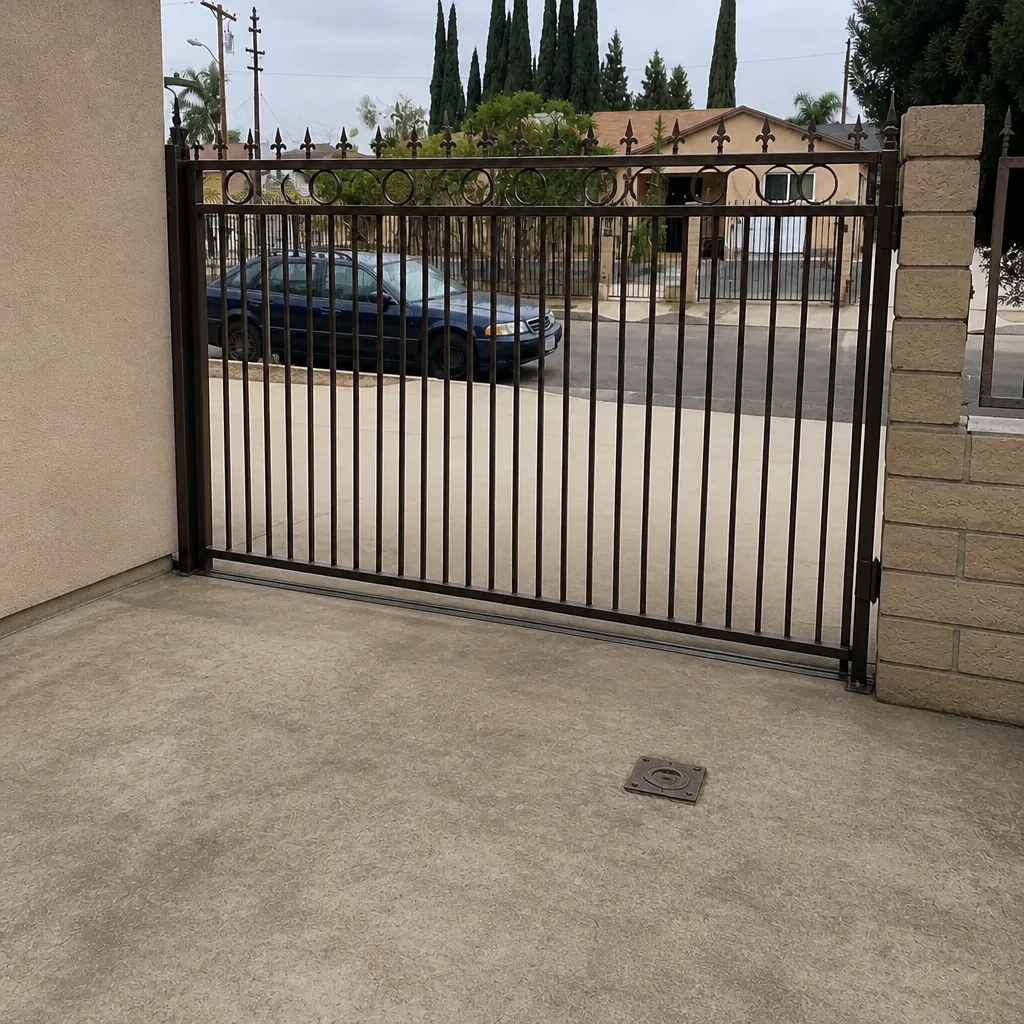 After
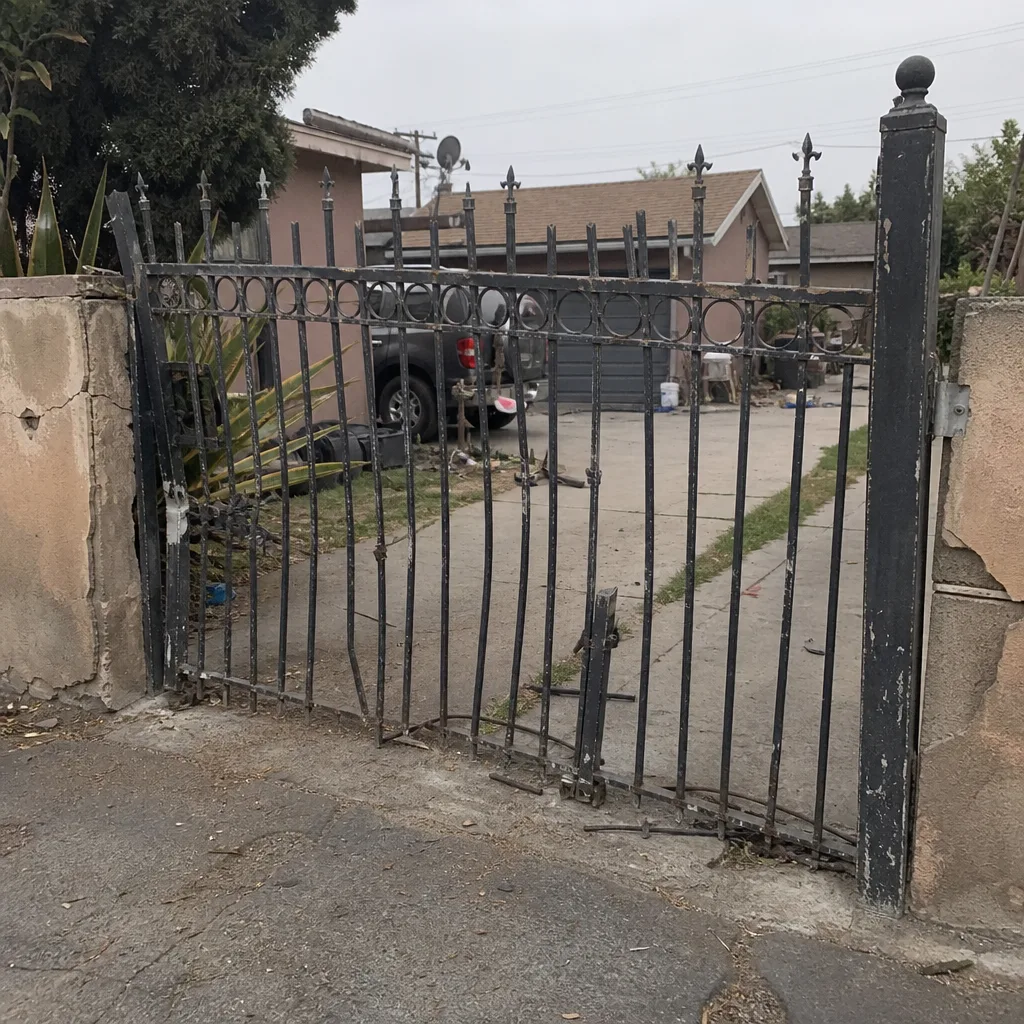 Before
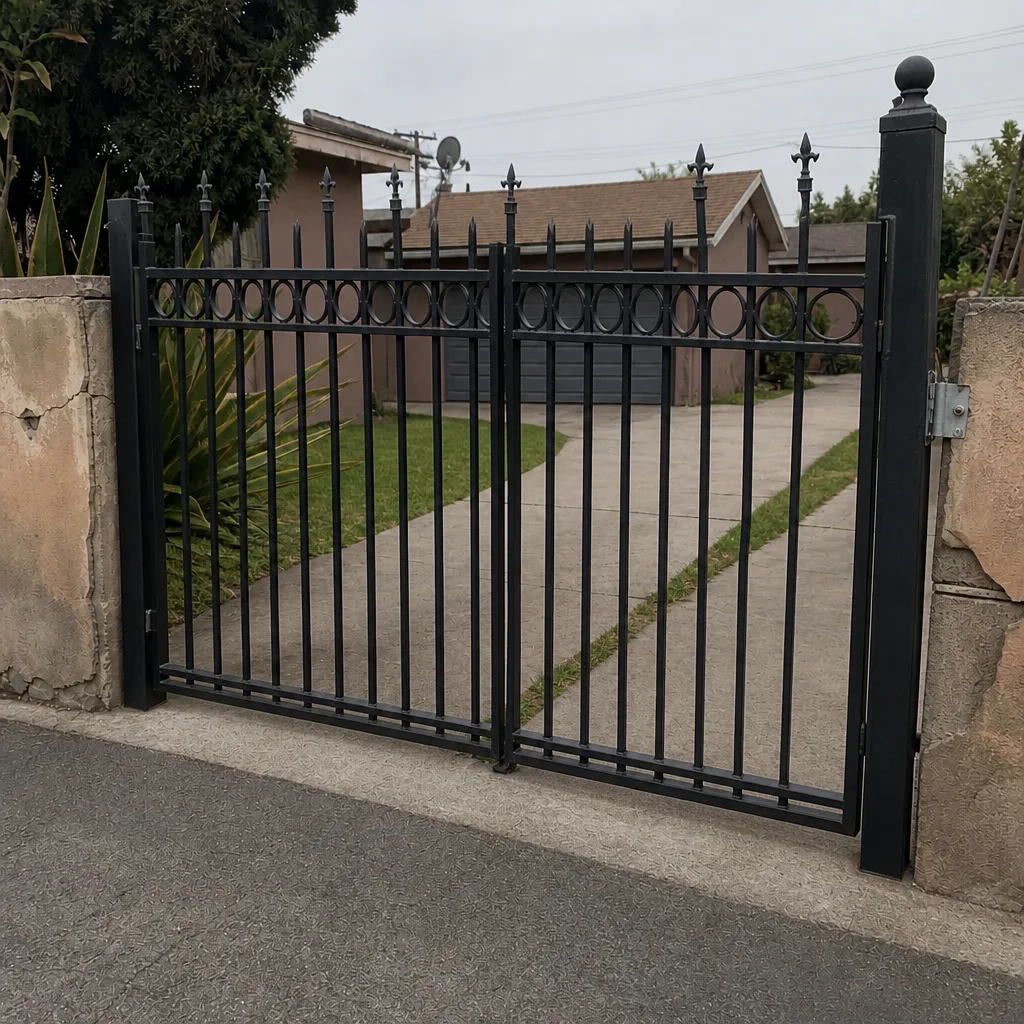 After
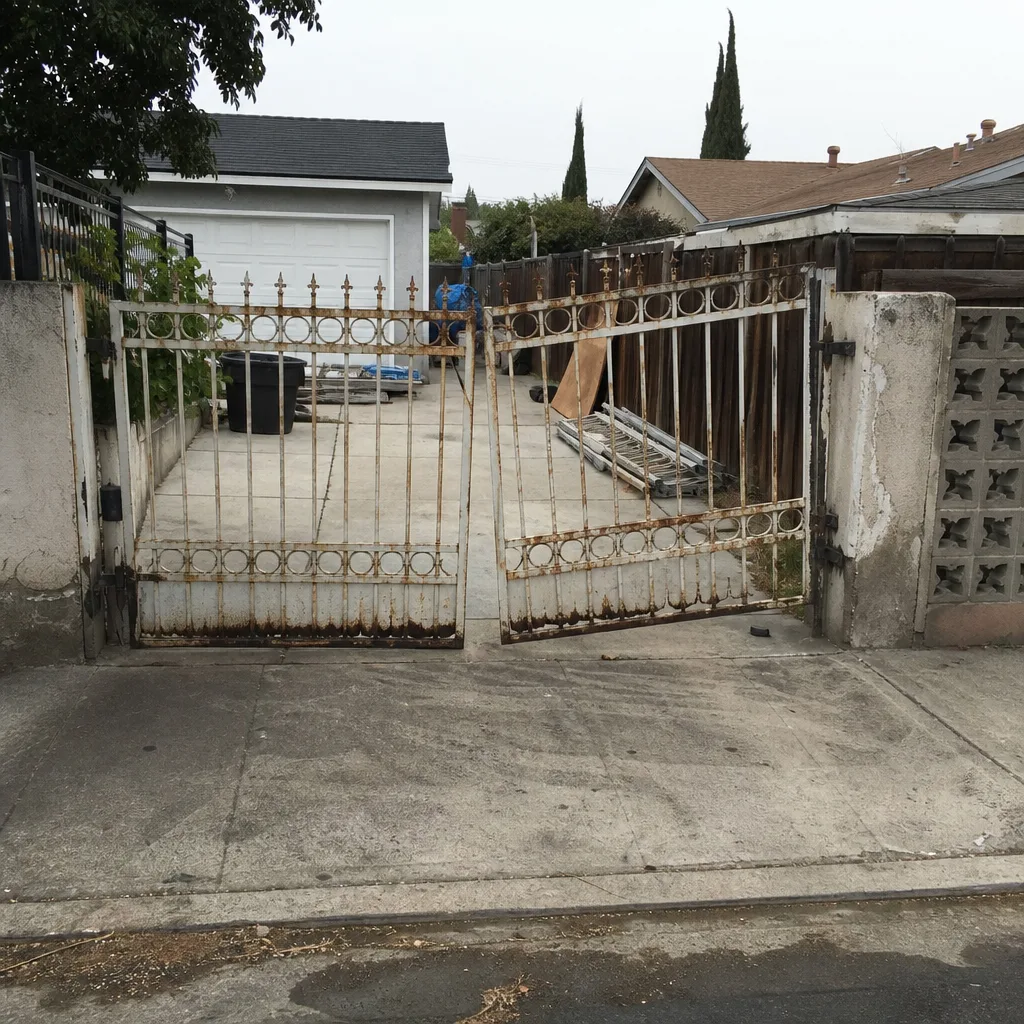 Before
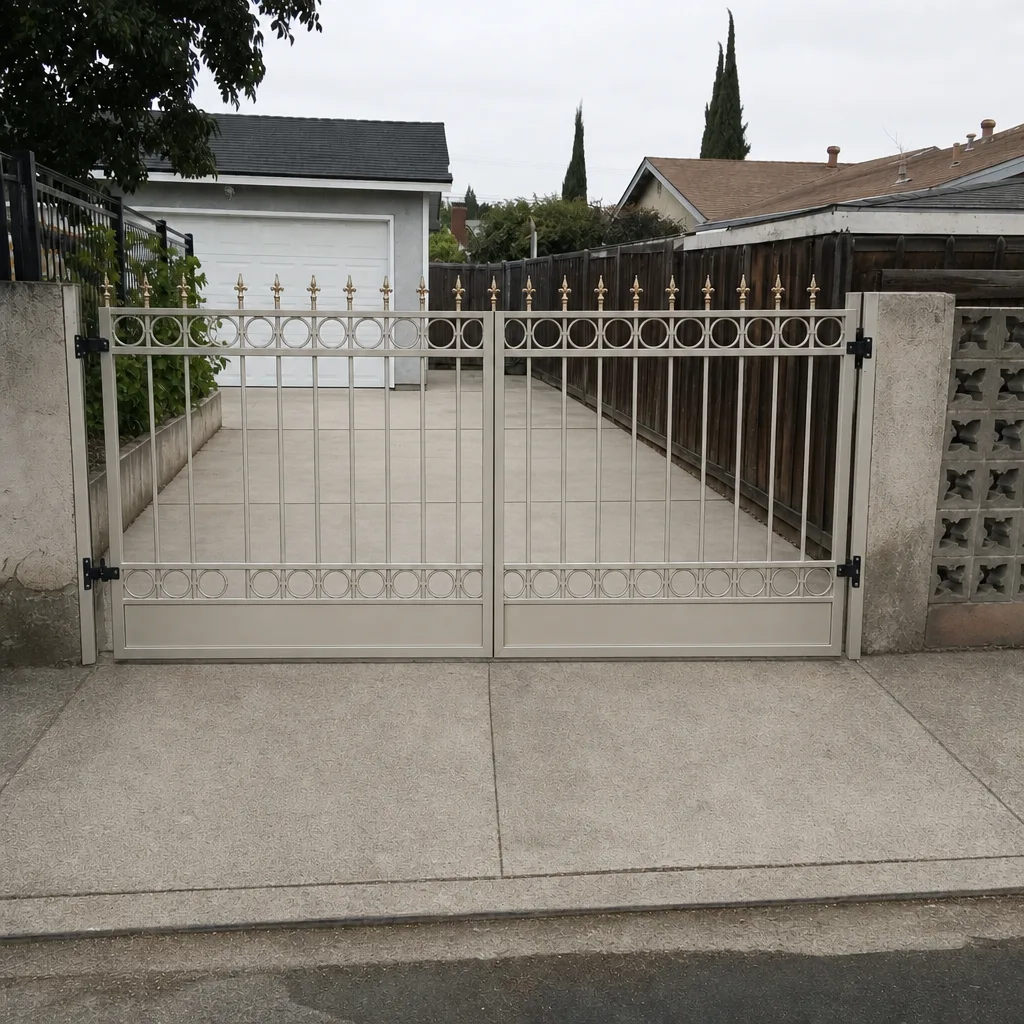 After
When to Call a Professional
Call a professional when the gate is binding, when the operator makes sounds it didn’t make before, when the safety reverse is triggering without an obstruction, when you see exposed wiring, or when the gate has visible post lean. These are symptoms where continued use makes the repair worse. A gate that scrapes a track for two months turns a $150 roller replacement into a $900 track rebuild. A gate with exposed wiring is a shock hazard, not just a reliability problem. A gate with a failing safety edge is a crush risk. If the problem is electrical, the call is non-negotiable. Gate Repair Compton offers free estimates in Compton. Call (866) 569-6161. We answer 24/7. Fast dispatch from 7am to 7pm, Sunday through Friday.
Frequently Asked Questions
Gate repair in Compton typically runs $150 to $500 for component-level fixes like hinge replacement, roller replacement, limit switch calibration, or photocell replacement. Full operator replacement runs higher depending on the brand and configuration. The estimate is free, and the price is set by the written estimate before any work starts. Call (866) 569-6161 for a specific number on your gate.
Most gate repairs are same-day once diagnosed, and simple component swaps like rollers, hinges, and safety edges are usually done within an hour or two on site. We answer 24/7 and dispatch from 7am to 7pm, Sunday through Friday. The exact timeline depends on parts availability for your specific brand and model.
We work on the brand you already have. Our team is factory-familiar with lift systems from LiftMaster, FAAC, BFT, Linear, Viking, Ghost Controls, DoorKing, Elite, and Mighty Mule. Brand-agnostic diagnostics mean the fix isn’t limited to one product line.
If the gate structure is sound, replacing just the operator is almost always possible and is typically a fraction of the cost of a full gate replacement. The gate structure itself usually outlives several operator generations. We’ll tell you honestly if the gate frame has degraded to the point where replacement makes more sense than repair.
False reversals usually point to a failing safety edge, misaligned photocells, or debris on the track triggering the obstruction sensor. It’s rarely an operator problem. The specific cause depends on how your safety system is configured and which components are degrading.
First, disconnect the operator using the manual release handle and test whether the gate moves by hand. If it moves freely, the problem is electrical or operator-related, not mechanical. Then call (866) 569-6161 with the brand name from the operator plate. We answer 24/7 and will talk through the symptoms before scheduling the visit.
The Bottom Line
Most gate failures in Compton never need to become full replacements. The three root causes we see most, foundation shift from clay soil, mismatched automation components, and deferred lubrication, are all repairable at the component level when caught early. Understanding which layer of your gate system is failing, physical, operator, control board, access control, or safety, determines whether you spend an afternoon or a week dealing with it. Document the symptoms, test the gate by hand, and call a gate specialist who works with your brand. The goal isn’t just a working gate. It’s a gate that keeps working through Compton’s soil movement and dust and heat, year after year.
Call (866) 569-6161 for a free estimate. We answer 24/7. Fast dispatch from 7am to 7pm, Sunday through Friday. Compton gate repair is what we do.
Written by the team at Gate Repair Compton, serving Compton since 2014.