
Last updated November 4, 2026
 Wrought iron
 Wood & steel frame
 Farm & ranch
 Sliding driveway gates
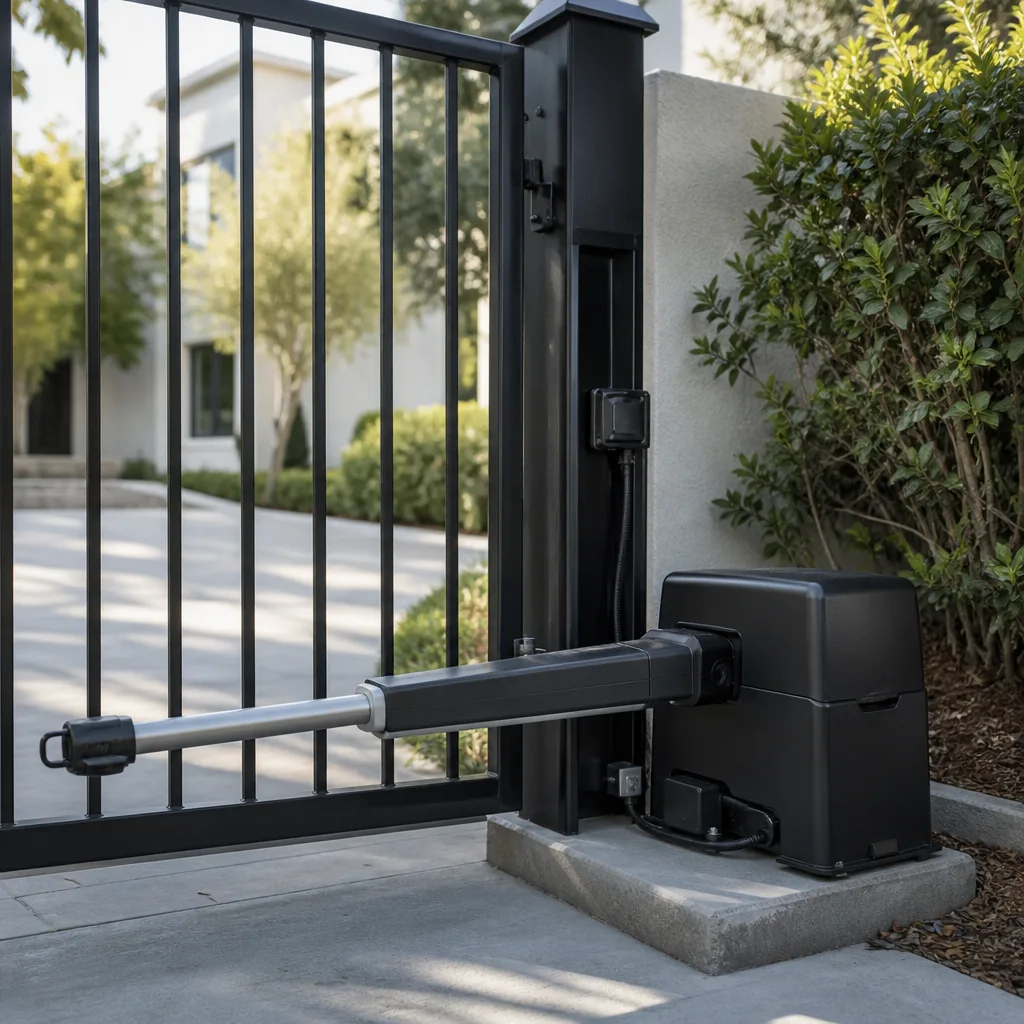 LiftMaster operators
Free on-site gate assessment - hinges, posts, and your LiftMaster or Nice gate operator checked before anything is quoted
The assessment is free and the quote is the invoice.
Get your free estimateGate Repair Troubleshooting in Compton: Common Problems and How to Fix Them
Most Compton property owners assume a gate that won’t open and a gate that reverses halfway are two unrelated failures. In practice, they’re frequently the same root cause: a safety sensor or loop detector sending a false obstruction signal to the control board. The operator then does exactly what it’s designed to do, which is stop or reverse. Starting with the symptom instead of the system is why so many DIY fixes replace parts that were never broken. This guide gives you a systematic five-category diagnostic framework so you can isolate the actual problem before spending money. It’s the same approach our Gate Repair Compton technicians use on every service call.
Quick Answer
Gate repair troubleshooting in Compton comes down to isolating which of five systems failed: power, signal, mechanical, sensor, or board. Start by checking the power source and reading the operator’s indicator lights before touching any hardware. About 70% of gate failures we see are power interruptions, misaligned sensors, or corroded wire connections, all of which can be identified in under ten minutes with a basic multimeter and a visual inspection.
Styles & brands we work with
- Wrought iron
- Wood & steel frame
- Farm & ranch
- Sliding driveway gates
- LiftMaster operators
Table of Contents
- Power System Problems: The Most Common Culprit
- Sensor and Safety Loop Failures: Why Gates Reverse or Won’t Close
- Mechanical Failures: Hinges, Wheels, Tracks, and Panels
- The Signal Path: Remotes, Keypads, and Receivers
- Control Board Failures: When the Brain Stops Thinking
- Compton-Specific Failure Modes: Sprinklers and Summer Heat
- Owner-Serviceable Fixes vs. Technician-Required Repairs
- A Five-Step Diagnostic Sequence for Any Gate Failure
Power System Problems: The Most Common Culprit
Before you assume the gate is broken, check whether it’s getting power. A surprising number of gate failures in Compton are a tripped GFCI outlet, a flipped breaker, or a disconnected battery. Gate operators draw power constantly, and anything from a brief utility fluctuation to an overloaded circuit can shut them down. Here’s the check sequence we teach every property owner.
What to Check When the Gate Is Completely Dead
- Confirm the outlet has power. Plug a lamp or phone charger into the outlet feeding the operator. If it doesn’t work, reset the GFCI or check the breaker. Gate operator outlets are often on exterior circuits shared with landscape lighting or garage equipment, so the breaker may be labeled oddly.
- Check the operator’s power switch. Most LiftMaster, DoorKing, and FAAC operators have a physical toggle or rocker switch on the control box. Make sure it’s in the ON position. It gets bumped during yard work more often than you’d think.
- Inspect the battery backup. Many automated gates have a 12V or 24V battery that keeps the system functional during outages. If the battery is dead and the operator is set to battery-only mode, the gate won’t move even with utility power restored. A bloated or corroded battery needs replacement, not recharging.
- Look at the fuse. Most control boards have an inline fuse, often 5A to 15A. A blown fuse tells you something downstream shorted. Replacing the fuse without finding the short means you’ll blow the next one too.
- Test the transformer. The transformer steps household voltage down to 24V DC for the board. A failed transformer reads zero on the board’s input terminals. This is a technician-level replacement, but confirming it saves you from buying remotes or sensors you don’t need.
Compton homes with older electrical panels sometimes have grounding issues that affect gate operators more than indoor electronics. If the gate trips its breaker repeatedly, have a technician check the dedicated circuit. It’s cheaper than replacing the operator.
Sensor and Safety Loop Failures: Why Gates Reverse or Won’t Close
A gate that starts to close and then reverses is almost always a sensor problem, not a motor problem. The operator thinks something is in the path and refuses to complete the cycle. This is a safety feature working correctly, even though it feels like a malfunction. The trick is figuring out which sensor is sending the false signal.
How Safety Sensors Work on Swing and Slide Gates
Automated gates use two primary safety mechanisms. Photo eyes, also called photoelectric sensors, project an invisible beam across the gate’s path. If the beam breaks during closing, the operator stops and reverses. Loop detectors, embedded in the driveway pavement, sense the metal mass of a vehicle. They prevent the gate from closing on a car and trigger opening when a vehicle approaches the exit side.
Either system can cause a phantom reversal. Here’s how to isolate which one:
- Clean the photo eye lenses. Dust, spider webs, and sprinkler residue on the lens can scatter the beam. Wipe both lenses with a dry cloth. If the gate works afterward, you’ve found the problem.
- Confirm alignment. Photo eyes must point directly at each other. A bumped post, a shifted mounting bracket, or even strong wind can knock them a few degrees off. Most photo eyes have an alignment LED that lights solid when aligned and blinks when not.
- Check for sunlight interference. Direct afternoon sun hitting the receiving photo eye can saturate it and cause false readings. Compton gets intense summer sun. If the gate only misbehaves during a specific two-hour window, sunlight is likely the culprit. A shade hood over the receiver usually fixes it.
- Test the loop detector. If you have a loop system and the gate reverses only when a car is near the entrance, the loop may be picking up interference or the sensitivity may be set too high. Loop detectors on LiftMaster and DoorKing operators have a sensitivity dial. Lowering it slightly can stop phantom detections without compromising safety.
- Inspect the wiring at the sensor terminals. A loose wire at the board creates intermittent signals that look exactly like a sensor failure. Tighten the terminal screws and make sure no wire strands are touching adjacent terminals.
If the gate reverses only when closing but opens fine, it’s almost never the motor. The board is receiving a stop or reverse command from somewhere. Finding that somewhere is the whole job.
Mechanical Failures: Hinges, Wheels, Tracks, and Panels
Mechanical failures announce themselves differently than electrical ones. You’ll hear grinding, scraping, or binding before the gate stops moving entirely, unless a component breaks suddenly. Swing gates and slide gates fail in distinct ways, so knowing which type you have narrows the diagnostic path immediately.
Swing Gate Mechanical Problems
- Sagging gate panels. A swing gate that drags on the ground or no longer lines up with the latch is sagging. The cause is usually a worn hinge, a bent hinge post, or a panel that’s too heavy for its frame. Street-facing single gates in Compton often take abuse from wind, which accelerates hinge wear.
- Worn hinges. Hinges are the highest-wear mechanical component on any swing gate. When the metal bushings wear out, the gate develops play and the weight distribution shifts. That shifts stress onto the operator, shortening its life. Replacing hinges is often the difference between a $200 repair and a $2,000 operator replacement.
- Broken or bent gate wheels. Heavy swing gates sometimes use a support wheel under the trailing edge. If that wheel seizes or breaks, the gate drags and the operator strains. A seized caster on a Compton property with dusty soil will grind to a stop within weeks.
- Stripped gearbox or damaged drive arm. If the operator runs but the gate barely moves, the connection between the operator and the gate has failed. This is common on older installations where the drive arm was never lubricated.
Slide Gate Mechanical Problems
- Debris in the track. Compton’s dry months leave dust, gravel, and leaf litter in slide gate tracks. A single large pebble can stop a sliding gate cold. Clear the track and the wheels before doing anything else.
- Worn track wheels. Slide gates ride on steel wheels or rollers. When they wear flat or seize, the gate shudders and binds. Continuing to run it damages the rack and pinion gear.
- Bent track sections. Vehicles clipping the track are a real hazard in Compton driveways, especially on narrow residential streets. A bent track creates a hard stop point where the gate always binds.
- Loose or worn drive chain. Chain-drive slide gates develop slack over time. A chain that jumps a tooth creates a violent jerk and can throw the gate off alignment.
Heavy gate panels can crush fingers or limbs if they fall or move unexpectedly. Never place hands between moving parts, and never work under a raised gate panel without mechanically propping it. If a spring-loaded counterbalance or a heavy panel needs adjustment, call a professional.
The Signal Path: Remotes, Keypads, and Receivers
When the gate works from the wall button but not from a remote, the problem is in the signal path. That narrows things considerably. The signal travels from your transmitter, through the air, into a receiver, and onto the control board. Any break in that chain produces a gate that only responds sometimes.
Remote Controls Don’t Work
Start with the obvious: the battery. Remote batteries die without warning, and cold mornings reveal weak ones. If a fresh battery doesn’t fix it, check whether the remote’s LED lights when you press a button. No LED means the remote is dead. An LED that lights but doesn’t move the gate points to a programming or receiver issue.
Most modern operators use rolling code technology, where the remote and receiver share a rotating code sequence. If the remote loses sync, typically after a board reset or power surge, it may need reprogramming. LiftMaster, Linear, and BFT each have a specific learn sequence, but the general pattern is the same: press the learn button on the board, then press the remote button within the programming window.
Keypads and Access Control
Keypad failures are usually one of three things: dead batteries on wireless keypads, worn membrane contacts on wired units, or a programming reset after a power event. If the keypad beeps but doesn’t open the gate, the code has been lost or the board rejected the keypad’s signal. Reprogramming is a five-minute job if you have the manual. Without the manual, brand-specific instructions matter. FAAC and DoorKing keypads have different reset procedures, and getting them wrong can lock the keypad entirely.
Intermittent Remote Range
If the remote works from fifty feet but not from the street, the receiver antenna may be damaged, improperly positioned, or shielded by metal. Newer installations in Compton sometimes place the receiver inside a metal housing that blocks signal. Relocating the antenna outside the cabinet is a simple fix that dramatically improves range. Interference from nearby radio sources, including cell towers and some utility equipment, can also reduce range. Changing the remote’s channel, where supported, often resolves it.
Control Board Failures: When the Brain Stops Thinking
The control board is the gate operator’s decision-making center. It interprets sensor inputs, manages motor timing, and stores all the user settings. When the board fails, symptoms can mimic almost anything: a gate that won’t open, a gate that won’t stop, a buzzer that won’t quit, or lights that flash meaninglessly.
Reading Indicator Lights to Decode Faults
Every major brand puts diagnostic LEDs on the board for exactly this reason. Learning to read them turns a mystery into a manageable repair.
- LiftMaster boards use a diagnostic LED that blinks in patterns. A solid LED means normal power. A flashing LED sequence, typically groups of two to five blinks, corresponds to a fault code, often related to the safety inputs or the motor circuit.
- DoorKing boards have multiple LEDs labeled for each input: open, close, stop, loop, and safety. A properly functioning board shows a steady light for each connected input. A blinking or dim LED on a specific input tells you exactly which circuit is sending a problem signal.
- FAAC boards use an LED status panel or a small digital display, depending on the model. The display shows fault codes directly, which makes diagnosis fast if you have the code chart. Without the chart, the flashing pattern still tells you the general system that’s faulting.
A board that shows no lights at all, even with confirmed power at the transformer, is usually dead. Before condemning it, check the fuse and the transformer output. Board replacements are a technician-level repair because they involve matching the new board’s settings to the operator’s motor, limit, and safety configuration. Wiring a board incorrectly can destroy it instantly.
Board failures in Compton are often heat-related. Operators mounted in direct sun on a west-facing wall bake all afternoon, and heat kills capacitors and solder joints over time. A shade structure over the operator housing is a cheap preventive measure that adds years to the board’s life.
Compton-Specific Failure Modes: Sprinklers and Summer Heat
Compton’s climate creates two distinct gate problems that generalist guides rarely mention. The first is sprinkler overspray. Many homes here irrigate lawns and planters near the driveway, and those sprinklers throw water onto gate loop wires, keypads, and operator housings. Loop detector splices sit in the ground, and when irrigation water seeps into a splice that wasn’t fully waterproofed, the connection corrodes. The detector then sends erratic signals, causing the gate to reverse, refuse to close, or open on its own. We see this regularly enough that it’s one of our first checks on any Compton call with phantom loop behavior.
The second is motor thermal cutoff during summer. Gate operator motors have built-in thermal protection that shuts the motor down when internal temperatures get too high. On hot Compton afternoons, a motor that has cycled multiple times can trip its thermal cutoff and refuse to run, even though nothing is broken. The fix is often as simple as letting the motor cool for twenty minutes. If it recurs daily, the motor may be undersized for the gate, or the operator may be running with insufficient ventilation. Adding a shade panel over the operator box, or adjusting the run cycle to avoid peak heat, can stop the tripping entirely.
Neither of these failure modes is unique to any one brand. We’ve seen them on LiftMaster, FAAC, BFT, and every other operator line we service. The climate is the common factor, and knowing to look for it saves hours of fruitless diagnosis.
Owner-Serviceable Fixes vs. Technician-Required Repairs
There’s a clear line between what a careful owner should attempt and what belongs in the hands of a trained gate technician. Crossing that line with a multimeter in hand usually makes the repair more expensive, not less. Here’s the breakdown.
Owner-Serviceable Fixes
These are safe, low-risk, and reversible. They require no special tools and no contact with high voltage or heavy components.
- Remote battery replacement. The most common gate fix in America is a $3 coin cell. Start here.
- Photo eye cleaning and realignment. A dry cloth and a few minutes of adjustment. If the alignment LED comes on and the gate works, you’re done.
- GFCI and breaker reset. If the outlet is dead, resetting it is standard homeowner territory.
- Track cleaning on slide gates. Sweep out debris, remove pebbles, and check for obvious obstructions.
- Limit adjustment on simple operators. Some operators have mechanical limit cams that a homeowner can adjust with a screwdriver. This is where gate travel distance is set. If you’re comfortable following the manual, it’s doable. If not, it’s a quick service call.
- Battery backup replacement. If the battery is accessible and clearly labeled, swapping in a matching unit is straightforward. Always disconnect power first.
Technician-Required Repairs
These involve high voltage, heavy panels, embedded wiring, or calibration that requires test equipment.
- Control board replacement. High-stakes electrical work. An incorrect wiring sequence can destroy the new board and the transformer.
- Loop detector re-tubing or repair. Cutting into the driveway, splicing wire, and resealing against moisture is skilled work. A bad splice fails again in six months.
- Motor or gearbox replacement. Heavy components, high torque, and precise alignment. Not a ladder-and-wrench job.
- Spring or counterbalance work on swing gates. Stored energy in a compressed spring can release without warning. This is how serious hand injuries happen.
- Welding or structural repairs. A cracked gate frame or broken hinge post needs a welder and a level of precision that keeps the gate square and balanced.
- High-voltage wiring. Any work involving the 120V supply line feeding the operator belongs to a professional. Gate operators carry lethal voltage even when the gate itself is battery-powered.
The rule we tell Compton homeowners is simple: if the fix involves water, wire, voltage, or weight, call someone who does gate repair every day. The cost of a service call is almost always less than the cost of a mistake.
A Five-Step Diagnostic Sequence for Any Gate Failure
When you’re standing in front of a gate that won’t behave, run through these five steps in order. They isolate the system methodically, so you’re never guessing.
- Confirm power at the operator. Check the outlet, breaker, GFCI, power switch, fuse, and battery. If the operator shows zero signs of life, the problem is here. If the operator hums but doesn’t move, move to step two.
- Read the indicator lights. Look at the board’s LEDs or display. A steady pattern means the board is receiving power and normal inputs. A blinking pattern or a fault code points to the specific circuit that’s unhappy. Write down the pattern before touching anything.
- Test the safety inputs. Block the photo eye beam and see if the board’s sensor LED changes. Press the safety edge or loop test if your system has one. A gate that reverses during closing is almost always catching a false safety signal here.
- Listen and watch for mechanical binding. If the operator runs but the gate shudders, squeals, or stalls, the problem is mechanical. Look for debris, worn wheels, sagging hinges, or a bent track.
- Check the signal path. If the gate works from the wall button but not from remotes or keypads, the control board is fine and the problem is between the transmitter and the receiver. Replace remote batteries, reprogram if needed, and check the antenna.
This sequence resolves the majority of electric gate repair calls we get in Compton. It’s methodical, it’s fast, and it prevents the most common mistake: replacing parts before identifying the failure.
Common Mistakes to Avoid
- Replacing the remote before checking the operator. A dead remote is easy to diagnose: the LED doesn’t light. If the LED lights and the gate doesn’t move, the remote is fine. The problem is elsewhere. Replacing a working remote wastes money and delays the real repair.
- Adjusting limits without checking sensor alignment. A gate that stops short is usually telling you a photo eye is blocked or misaligned. Cranking the limit adjustment to force it past the problem point creates a safety hazard and often makes the behavior worse.
- Ignoring repeated breaker trips. A GFCI that trips once is a fluke. A GFCI that trips weekly is telling you something is wrong: a bad capacitor, a failing transformer, or a grounding issue. Resetting it forever is how small electrical problems become board replacements.
- Lubricating tracks with the wrong product. Heavy grease on a slide gate track collects dust and gravel, which grinds down the wheels faster. Use a dry silicone spray or a light machine oil, never axle grease, and never on a photo eye lens or belt surface.
- Working on a gate under power. Always disconnect the operator’s power before working on hinges, tracks, or panels. A gate that moves unexpectedly can crush a hand or pin a body. This is the most common cause of serious gate-related injuries.
- Replacing a blown fuse without finding the cause. The fuse is a symptom, not the problem. A shorted wire, failed capacitor, or water in a junction box blew that fuse. Installing a new one and walking away works right up until the next fuse blows, sometimes with more damage.
- Assuming the whole gate needs replacing. A gate that’s noisy, slow, or intermittent usually has one replaceable component that’s failing. A competent diagnostic finds it. A gate replacement is a last resort, not a first recommendation.
See the difference
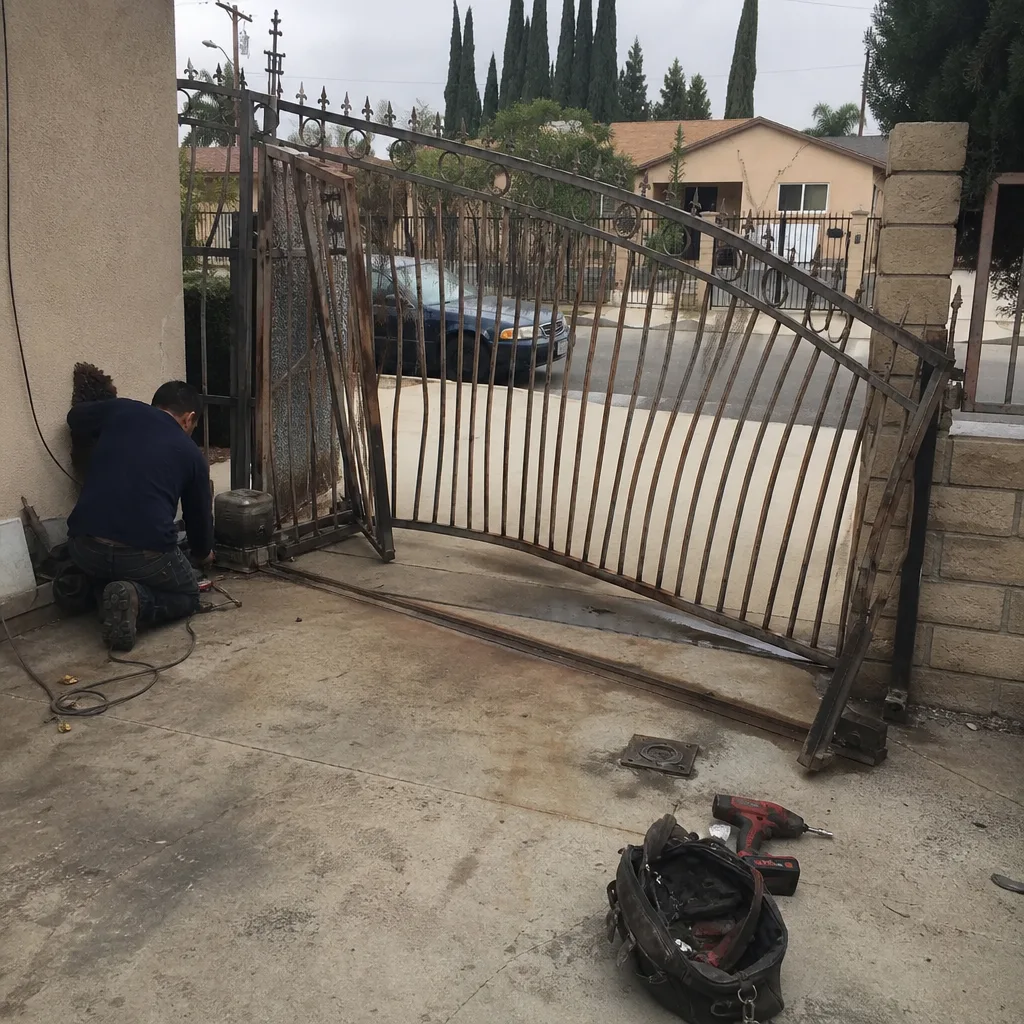 Before
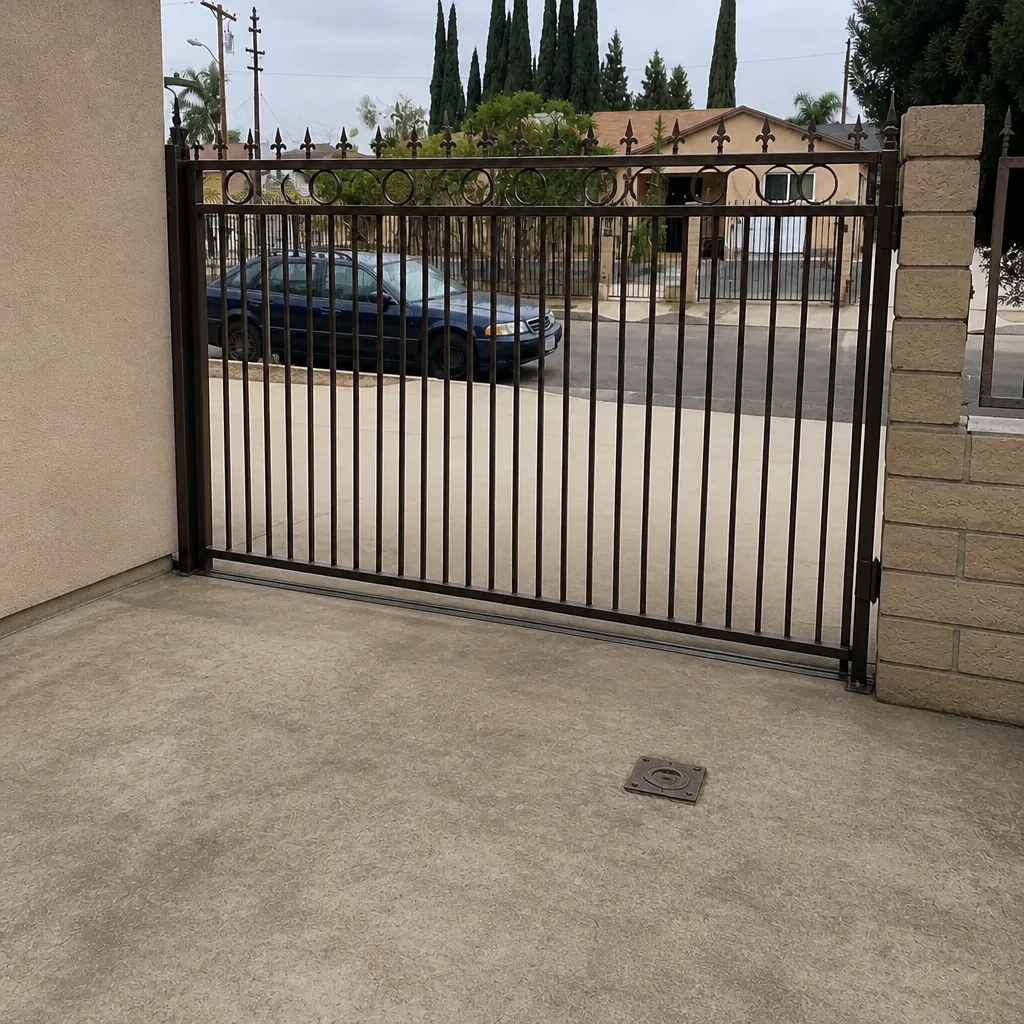 After
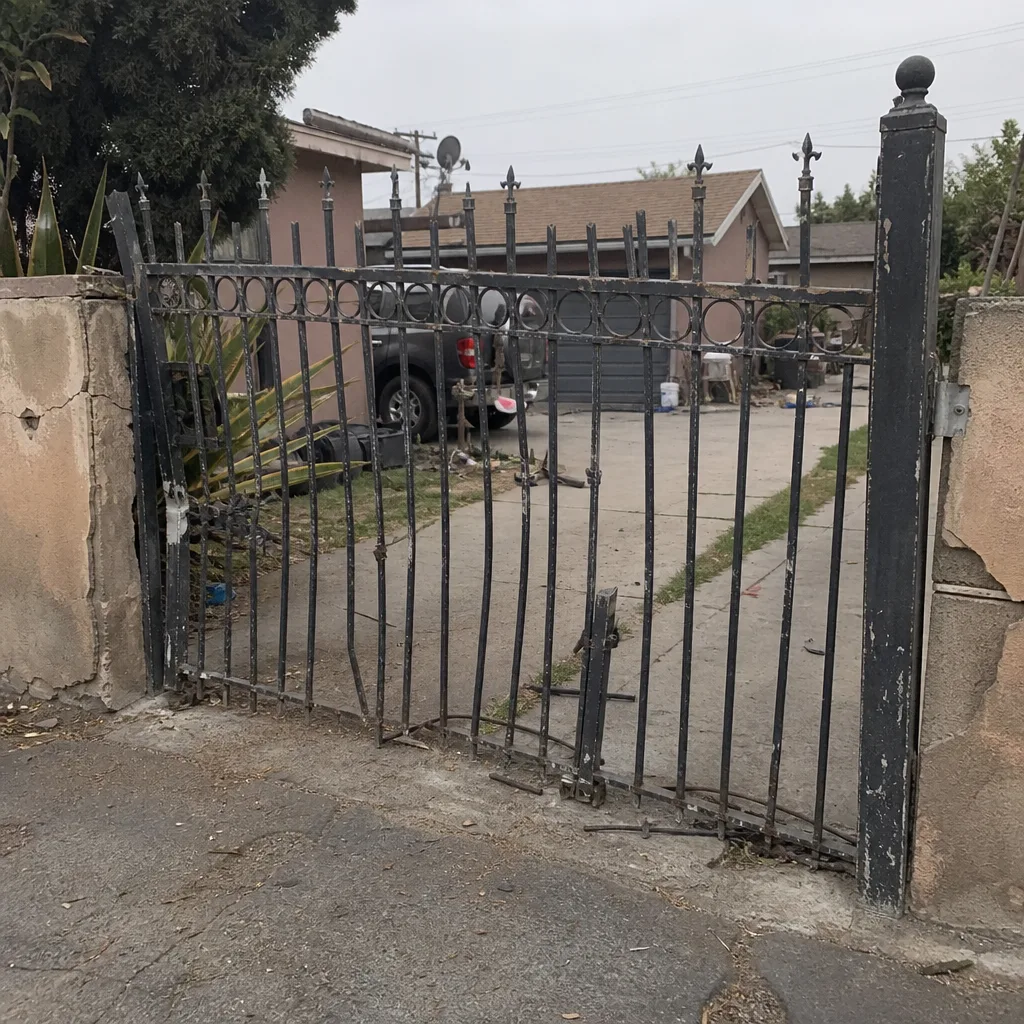 Before
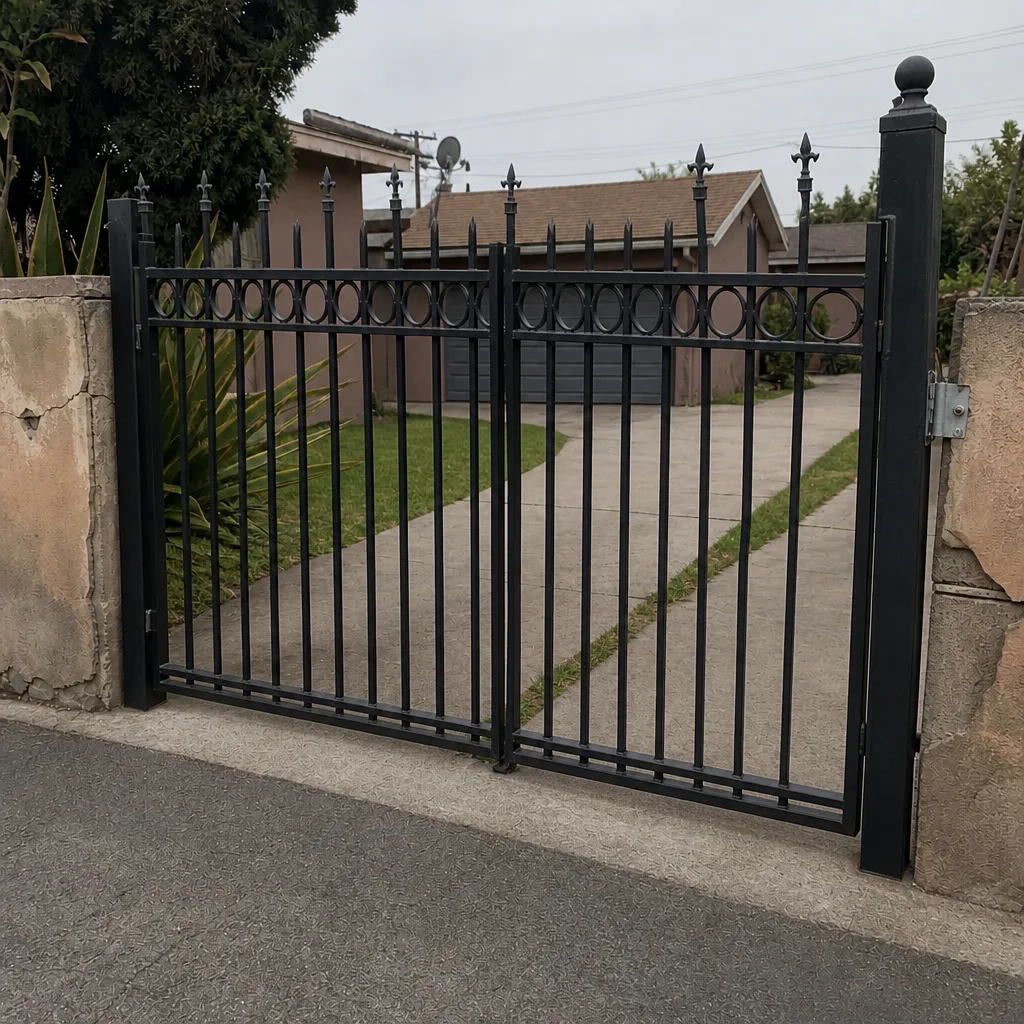 After
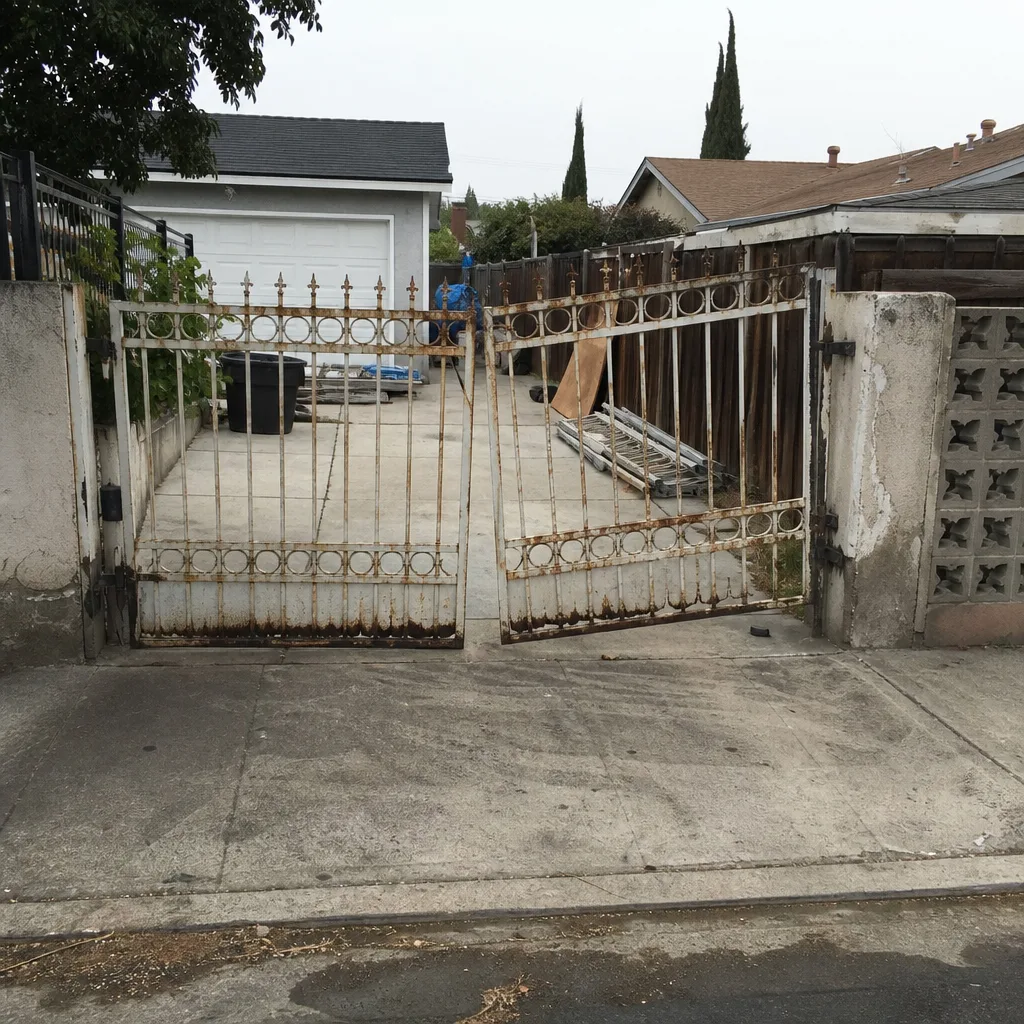 Before
 After
When to Call a Professional
Call a gate professional when the problem involves the control board, the motor, embedded loop wiring, spring tension, welding, or any 120V circuit. Call also when you’ve run through the five-step sequence and the gate still misbehaves, because the next diagnostic steps require tools and training that most homeowners don’t keep in the garage. A gate that fails intermittently, works in the morning but not in the afternoon, or trips its breaker should be looked at before it fails permanently. Gate Repair Compton offers free estimates in Compton, call (866) 569-6161. We answer 24/7. Fast dispatch from 7am to 7pm, Sunday through Friday.
Frequently Asked Questions
A gate that reverses near the end of its closing cycle is receiving a false obstruction signal from a photo eye, safety edge, or loop detector. The most common cause is a misaligned or dirty photo eye, but a failing loop detector splice can produce the same symptom. Clean and realign the photo eyes first, then test whether the gate reverses only when a vehicle is nearby. If the problem persists, call (866) 569-6161 for a diagnostic visit.
Most gate operators reset automatically when power returns, but some LiftMaster, FAAC, and DoorKing boards require a manual reset if the outage occurred mid-cycle. Disconnect power for thirty seconds, restore it, and press the reset button if your board has one. If the gate opens but won’t close, the limits may have been lost and need reprogramming. Call (866) 569-6161 and we can walk you through it or send a technician.
Intermittent gate failures in Compton usually trace back to one of three causes: heat-related motor thermal cutoff on hot afternoons, corroded loop detector splices from sprinkler overspray, or a loose wire at the control board terminals. Since the failure is intermittent, diagnose it when it’s happening. An intermittent gate almost never fixes itself and tends to get worse. Call (866) 569-6161 for a diagnostic visit, we answer 24/7.
A blinking light on a LiftMaster, DoorKing, or FAAC operator is a diagnostic code that identifies which circuit is faulting. The pattern or the labeled LED tells you whether the problem is in the safety inputs, the motor circuit, or the power supply. Without the code chart, you can still tell which system is involved by noting which LED is blinking. Call (866) 569-6161 with the brand and blinking pattern, and we can usually tell you what it means over the phone.
Some fixes are safe for homeowners: remote batteries, photo eye cleaning, GFCI resets, and slide gate track cleaning. Others are not: control board replacement, loop detector repair, motor work, and spring or counterbalance adjustments all involve voltage or stored force that can cause serious injury. If you’re unsure, call (866) 569-6161 and describe the symptom. We’ll tell you straight whether it’s a DIY job or needs a technician.
Gate repair costs in Compton vary depending on the component and the gate type. Minor fixes like photo eye alignment or remote reprogramming are typically the least expensive, while a new control board, with programming and calibration, is a more significant repair. A technician will assess the gate and provide a written estimate with the price agreed before any work starts. Call (866) 569-6161 for a free estimate, we answer 24/7 with fast dispatch from 7am to 7pm, Sunday through Friday.
The Bottom Line
Gate repair troubleshooting in Compton doesn’t have to be a guessing game. Isolate the system, power, signal, mechanical, sensor, or board, and most failures reveal themselves quickly. Start with the operator’s power supply and its indicator lights before replacing any parts. Respect the line between what a homeowner can safely fix and what belongs to a technician. And when a gate keeps failing despite your best efforts, a focused diagnostic saves more money than a box of guesswork parts ever will. We work on the brand you already have, whether it’s LiftMaster, FAAC, BFT, Linear, or any other major operator. Gate repair is all we do.
Written by the team at Gate Repair Compton, serving Compton since 2014.